Search This Blog

Showing posts with label USM. Show all posts

Wednesday, February 2, 2011

Baybee its cold outside!

My dear Sprite is on vacation and I am so blessed that she is spending it with me. We have experienced beautiful sunshine, rain and freezing temperatures. SNARF! I am so not a winter person! Ms Fancy was kind enough to donate her sweater to my granddog Danny Boy and in return I made her a new sweater on the USM.

Fancy Pancy surfing the net in her new sweater


The written Fancy Pancy Sweater pattern can be found here.

Monday, January 24, 2011

Little Red Cape Pattern (Photo Heavy)

This is the first time I have every written out a USM or any pattern. Please read carefully and ask for clarification if you need to.

Hood

KP#3 throughout the project

PF (pull forward) 80 needles

Hang rag hem or weighted hem

Knit 8-18 rows WY (waste yarn)

Knit 16 rows of main yarn

Using the transfer tool pick up the beginning loops and hang them on the working needles to create a casing.


Reset RC (Row Counter) to 000

Knit 44 rows of MY (main yarn)

Bind off using a crochet bind off (closed)

Fold the rectangle in half and Kitchener-stitch the edge opposite from the casing.

Mark the center of the back/bottom of the hood where the row of Kitchener meets the back edge with a stitch marker or contrasting yarn.

Mark the center point between the Kitchener row and the join of the casing with a stitch marker or contrasting yarn on both sides of the bottom edge of the hood.


Back

PF (pull forward) 110 needles

Hang rag hem or weighted hem

Knit a few rows WY (waste yarn)

Reset RC (Row Counter) to 000

(Optional eyelet row– knit 4 rows, create eyelets as desired. My eyelets are 5 needles apart. Continue to knit to row 80)

Knit 80 rows of MY (main yarn)

Decrease stitches to EON (every other needle)

Move stitches over so that there are no empty our out-of-work needles

Knit 10 rows

Bind off using a crochet bind off (closed)


Mark the center of the back at the top edge with a stitch marker or contrasting yarn. This is where the center hood and center back will attach.

Remove rag hem and WY

Front

PF (pull forward) 110 needles

Hang rag hem or weighted hem

Knit a few rows WY (waste yarn)

Reset RC (Row Counter) to 000

(Optional eyelet row– knit 4 rows, create eyelets as desired. My eyelets are 5 needles apart. Continue to knit to row 50)

Reset RC (Row counter) to 000

Right upper side of front

This will create a slit in the middle of the upper front

PF (pull forward) 55 needles on the left side of the front piece to FNWP (forward non-working position).

Knit 30 rows of MY (main yarn) adjust weights accordingly.

Row 31 - Decrease EON (every other needle).

Move stitches over so that there are no empty out-of-work needles

Knit 10 rows

Bind off using a crochet bind off (closed) but leave the right side of the front piece on the needles. PF (pull forward) the needles to FNWP (forward non-working position)

Reset RC (Row counter) to 000

Left upper side of front.

Push the 55 needles on the left side of the front piece to FWP (Forward Working Position).

Knit 30 rows of MY (main yarn) adjust weights accordingly

Row 31 - Decrease EON (every other needle)

Move stitches over so that there are no empty out-of-work needles

Knit 10 rows


Bind off using a crochet bind off (closed)

Joining

(Right sides together) - Match the Hood center bottom with the Back center bottom and sew together using a modified mattress stitch.


CE (casing edge)
M (stitch marker)
CM (center marker) (also marks Kitchener row on bottom edge of the hood)
FLS (first left stitch of a row)
FRS (first right stitch of a row)
CFS (center front split)

Bottom edge of Hood

CE………………..M………………..CM………………..M………………..CE

Top edge of the Back

FLS………………..M………………..CM………………..M………………..FRS


1. Match the Hood bottom edge and the top of the Back here. Remember that the outer ¼ edges of the hood are to be seamed with the front of the cape.

(seam here)
  CE………………..M………………..CM………………..M………………..CE
FLS………………..M………………..CM………………..M………………..FRS


2. With the knit side (right side) facing you, seam the Back and Front shoulders together.

   (seam here)                                                            (seam here) 
       FLS………..HOOD & CENTER BACK SEAM…………..FRS
       FLS………..………........……..CFS.…….……....…..………….FRS

3. Stitch the remaining ¼ edges of the Hood bottom to the remaining inner edges of the Front on either side of the CFS (center front split)
DO NOT seam the casing to the front, but leave it extended over the edge of the center front split.

                               (seam)          (seam)
FLS………..………........……..CFS.…….……..…..………….FRS

4. Blanket stitch the side seams of the Front and Back

5. The shoulders will have a sharp corner, which I stitched down to give a soft curve to the shoulder. This area can also be trimmed, add epilates, etc.

6. CFS (center front split) Beginning on the left side of the CFS at the base of the Hood, sc (single crochet) to the end of the CFS on the right side. Chain 1, turn and sc in the next 3 sts (stitches), chain 4, skip the next 4 sts and sc in the next 8 sts, sc in the remaining sts of the CFS slst (slip stitch) in the last sc. Crab stitch to finish the edge of the CFS placket.


Sew the buttons onto the left side of the placket. This is a garment for a female so the placket should have a right-over-left flap (if you are wearing the garment, the right flap will lap over the left side. The buttons will be on the left side. 


REMEMBER: I used large buttons. Adjust the number of buttonholes and the size of the buttonholes to your buttons.


Trim

Bottom of the cape trim

Trim color yarn (white) sc 1 row. Crab stitch 1 row.


Edge of hood trim

Where the casing is folded (face edge), sc between the knit stitches for 1 row. Crab stitch 1 row.


I-Cord

I don’t use a rag hem for the I-Cord tie.

PF 4 needles and double ewrap cast on. Hang some weight and knit the length of cord desired. Bind off. I use the yarn tails to do a quick 1” seam along the beginning and ending of the I-Cord. Pull it through the Hood casing and steam the cape.


Friday, January 21, 2011

Eden's Cape Day 4 FINISHED!

Eden Lee

I'm glad to have this one finished. Red was Grannie Prince's favorite color, not mine! I like a splash of it now and then and I like red roses, but too much red irritates me. I could never work at Target, even shopping there can get me wired and I usually come out of there with a "red overload headache".
The buttons are reclaimed from jacket approximately 30 years old. 

Crocheted button hole


Tuesday, January 18, 2011

Little Red

Wow! It is after 10 PM and I am just now finishing up an assignment for school.

I did get a few rows in this morning on Tator Tot and started a red hooded cape-thingie for Eden. Over all, it was a frustrating mess!


The was a weekend of darkness and misty weather, the dogs tracking muddy paw prints on my hardwood floors and O my aching back! I did manage to get the floors steam-mopped.

Hey, looks like I was not as unproductive as I thought... GO ME!

Saturday, January 15, 2011

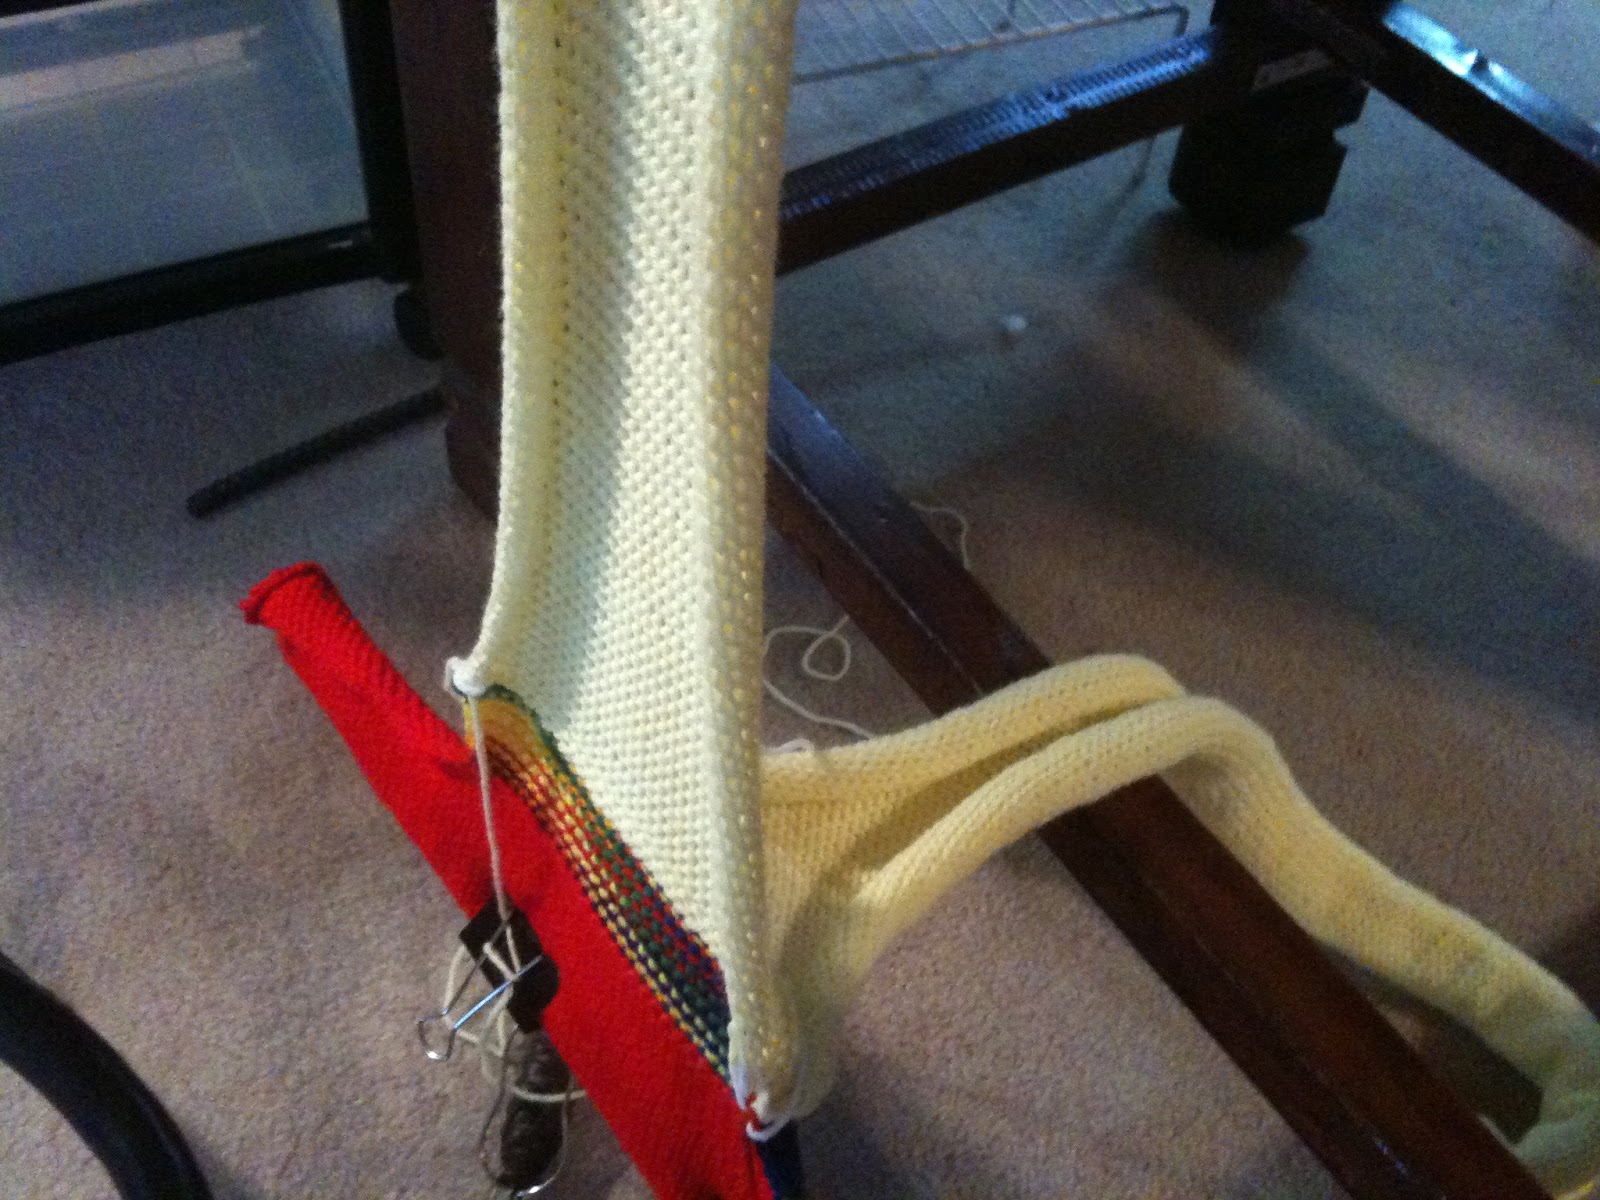
The Idiot String

When I have multiple items to knit on my USM that require the same weight and approximately the same number of needles, I will piggy back the knitted pieces to save time and work more economically.

This works well when I have a set of dishtowels, dishrags, etc.

There are few ways to accomplish this task without having to rehang the hem or knit waste yarn over and over and over…

I usually start out by hanging my rag hem and then knitting about 8 to 10 rows of WY. If there is not much yarn I will knit it all to avoid cutting it into shorter un-reusable pieces.

Then I knit 1 row of yarn (or ravel cord) that I call idiot string, some call it pull-row, release-row, or slip-row. Why I call it idiot string? Because when I forget to knit it in, I smack myself in the head and say “Idiot! String?”

Mamma would really be upset with me if she knew about this little conversation that I have with myself because she never let us use the words: idiot, stupid, and fool. But, we won’t tell Mamma now will we?… grrrrrrrrrrrrr

How many items that I plan to knit will determine the number of idiot strings I will add to my beginning WY. There are times that I only knit one idiot string and have faired well with it.

Let’s say I am going to knit four pieces so I would begin in this way

Rag hem – waste yarn, idiot string, idiot string, idiot string, and idiot string.

Then I would use a double e-wrap, crochet cast on, or any other cast on that my project required. Then knit my first piece. Cast off in the desired method.

Now, instead of ripping out the idiot string and the waste yarn to remove the knitted piece, then re-hanging the rag hem, knitting the waste yarn and another idiot string—I simply pull up the beginning of the knitted piece and re-hang the next row of idiot string (make sure the knitted piece is hanging to the back of the hem. Cast on for your next piece and knit!


The original knitted piece is laying behind the newly added piece.
Another method I use is to complete the first piece, then add some waste yarn or another idiot string and cast on the next piece. This works really well when knitting small items like dishrags assembly line style.

Crochet cast of using the latch tool. Leave the knitted piece on the USM

Knit 8 to 10 rows of contrasting waste yarn.

Cut the waste yarn
Afterthought Idiot String - Pull out the loop on the right end (or left end) opposite of the end of the waste yarn.

Cast on the second piece.

Push the cast on row against the waste yarn and USM bed, push the needles into forward working position and make sure that the latches are open.

Knit the desired number of rows


Cut the loop on the opposite side of where you cut the last row of waste yarn.

Pull each end of the Afterthought Idiot String at the same time

Then pull from one side or the other GENTLY DAMMIT!

The knitted piece will begin to separate from the waste yarn.

Now remove the waste yarn.

TA DA!!


Zade Hudson's Blankie Finished!!

Third time is the charm.... right? Sure it is! I finished Zade Hudson's blankie after 3 attempts at it. The first one looked great but I decided I wanted it BIGGER!! So I ventured off and tried another pattern that well... sucked nuggets and so like a good girl, I went back to Diana and followed her direction only expanding the  amount of cast on needles to 81.

I took these with my iPhone and no flash. The sun has decided to take a vacation far away from Temple, Texas

The blankie is lying on a queen-size bed.

The edging. 

Zade Hudson... little sweet man

Friday, January 14, 2011

My horizons are expanding or The USM Power Workout

I spent the better part of my life as a farm hand of sorts. I was up in the early mornings feeding animals before my first sip of coffee for many years. There are actually times that I get a pang of longing for milking the goats and feeding the turkeys and chickens… but, cold winter mornings snaps me right out of it! I do miss the sweet kisses that baby goats give you and the cackle of a hen as she lays her morning egg. One thing about farm work is that I never needed an exercise plan.

I spend way too much time sitting. I sit in front of a computer. I sit while hand knitting and crocheting, making jewelry, painting, blah, blah, and so forth. My last working positions were… yep, sitting in front of a computer. Well, I have developed the USM Power Work-Out to bust that every expanding waistline and bounding bottom that plagues every sitter-downer! And the best part is… I am sharing it with the world

FOR FREE, or for 3 easy payments of only $39.95! Your choice!

Here is the free part:

To combat those lovely middle-age bat wings, do not purchase an electric yarn winder. Stand with your feet apart, elbows lifted to about shoulder height and extended to the sides. Hold the end of the yarn in one hand and begin wrapping the yarn into a ballish shape with the other. If you do this to a heavy metal song and wiggle your tushie and nod your head for added calorie burning bonus. Do not forget to switch the ballish yarny thing to the other hand half-way through winding or you will end up with one fine looking arm and a bat-wing thingie flap’n on the other.

WAIT THERE IS MORE! 
+Do not bother with checking the gauge required to complete the pattern you are working on and you will have lots of yarn to rip out and re-roll!
++ Do not secure your ball of yarn while using your USM and every time the ballish thing rolls off of your knitting table you will burn calories chasing it.

Sculpt that expanding waistline (saddlebags for us old-timers) by sitting on a tall stool in front of your USM and sway from side-to-side with the motion of the carriage. For added fun, sway in the opposite direction. Be sure to firmly plant your feet on the floor with your legs spread apart (my mother is probably shake’n her fanger at me from heaven for this one because nice southern girls keep their legs together!) or you will fall off of the stool and probably need emergency medical attention.

This one is for your back and shoulders… Drop your claw weights (actually any weights will do), or your transfer tool as many times as you can during a USM session. Bending forward from the waist and stretch your arms out from the shoulder to retrieve them will give your back a real good workout.
Please let me know of your special USM workout secrets. I'd be glad to sell them too.

Thursday, January 13, 2011

Trip'n

A couple of days ago, I decided to get into a hurry... a REAL hurry it seems and ended up falling down the stairs from the living room to the lovely garage floor. Ironically, I had just cleaned that floor. Had my trip happened 15 minutes earlier and I would have ended up falling on glass recycling and bins that we use to hold recycling materials before carting them off to the Temple Recycling Center.

I hurt... not particularly in the places that I thought would be hurting, but in various regions and enough to make me really cranky. I have been trying to knit a a test glove from a pattern that Cynthia sent to me a few days ago. I've had the glove hanging on the USM and have progressed to just past the thumb. The side-to-side motion has proven a bit too irritating to my shoulder.

Starting the thumb. The yarn looks like royal blue in the photos, but it is really a deep purple.


O well... I won't mention that my trip happened almost to the day that I fell down the very same steps last year. I'm so graceful!!!

Friday, January 7, 2011

Diana's USM Slipper

I took a break from writing... errrrr typing my team assignment and tried my hand at Diana's USM Slipper.

to be cont....

Now I have to work in some time to work on a new glove pattern that Cynthia sent to me this morning...

Thursday, January 6, 2011

Hudson's Blankie: Day 2

I decided that I wanted Hudson's blanket to be a bit bigger and therefore I have started over casting on 141 needles, beginning with 3 needles in WP and adding 3 needles every-other-row.


Kat has visited my studio several times today to see if the sewing machine has miraculously produced a dress for her... SNORT! I have accomplished moving an old computer desk upstairs and pulling the machine out of the box. I have such a mess and I really need to finish Hudson's blanket and finish my team assignment too. I am too distracted by the mess that has invaded my workspace!


One more slice to knit then on to Kitchener stitching the completed circle and edging.
My mother did not knit, but she is with me when I do. She had a cuckoo clock that she loved and when we moved to Milford, Texas in 1972 the cuckoo clock was broken. I still have that clock, broken bits and all. I use the weights to anchor my knitting on the USM and every time I look at them I think of mom.


Wednesday, January 5, 2011

Today's Project: Zade Hudson's Blankie

I started working on Zade Hudson's (my new great nephew) blanket today using Diana's USM Baby Blankie videos.
He is the spit'n image of his daddy


This morning I sent Kat to Handcock's to pick up a couple of pounds of yarn and she returned home with 8 pounds and a Brother sewing machine.


I'm love'n this pattern

My fancy schmancy weights upclose

A few days ago, she called to ask me "if you have a sewing machine that sews straight seams can you make me a dress?" She then returned home with a pattern and material... and today... the machine!